
Turning your backyard into an outdoor oasis is an exciting project, and one of the best ways to elevate the experience is by installing an outdoor sound system. Whether you want to host the ultimate garden party or simply enjoy your favorite tunes while relaxing, a well-installed outdoor sound system can make all the difference. This comprehensive guide will walk you through everything you need to know about outdoor sound system installation, including the necessary components, installation steps, and expert tips.
Why Install an Outdoor Sound System?
Before diving into the technical details, it’s essential to understand why an outdoor sound system is worth the investment. Unlike portable Bluetooth speakers that might not provide the power or sound quality you desire, a dedicated outdoor sound system is designed to deliver high-fidelity sound across large areas. These systems are weather-resistant, durable, and can be tailored to your specific outdoor environment, providing consistent audio quality throughout your yard.
What is Needed for an Outdoor Sound System?
When planning an outdoor sound system installation, several key components are required. Each part plays a crucial role in ensuring that your system delivers the best possible performance.
1. Speakers
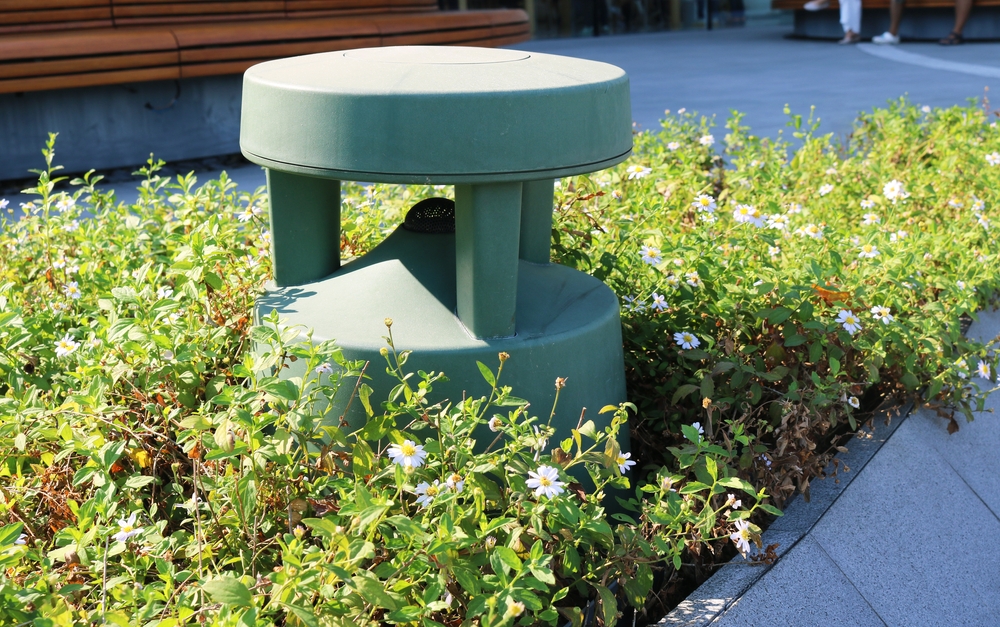
Outdoor speakers are the heart of your sound system. These speakers are designed to withstand various weather conditions, including rain, sun, and extreme temperatures. They come in different shapes and sizes, from wall-mounted models to in-ground options that blend seamlessly with your landscaping.
2. Amplifier
An amplifier is necessary to drive the speakers. It takes the audio signal from your source and boosts it to a level that can power the outdoor speakers. When choosing an amplifier, ensure it matches the power requirements of your speakers to avoid underpowering or overpowering them.
3. Audio Source
Your audio source could be anything from a smartphone to a dedicated media player. Many modern outdoor sound systems use wireless technology, allowing you to stream music directly from your devices. Some systems may also include traditional wired connections, offering a variety of input options.
4. Cables and Wiring
For wired systems, you’ll need outdoor-rated speaker wire that is resistant to moisture and temperature changes. The length and gauge of the wire depend on the distance between your amplifier and speakers, so it’s important to plan your layout carefully.
5. Mounting Hardware
Depending on your choice of speakers, you may need brackets, stakes, or other mounting hardware to securely install them. This hardware must also be weather-resistant to ensure longevity.
6. Weatherproof Enclosures
If your amplifier or audio source is installed outdoors, you’ll need weatherproof enclosures to protect these components from the elements. These enclosures should be ventilated to prevent overheating while still providing adequate protection.
Step-by-Step Outdoor Sound System Installation Guide
Now that you know what is needed for an outdoor sound system, let’s explore the installation process. Whether you’re a DIY enthusiast or planning to hire a professional, understanding the steps involved will help ensure a smooth installation.
Step 1: Plan Your Layout
The first step in any installation is to plan the layout of your outdoor sound system. Consider where you spend most of your time in the backyard, such as near the pool, patio, or garden. These areas should have the best sound coverage. Additionally, take into account the acoustics of your outdoor space. For instance, sound can bounce off hard surfaces like walls and patios, so placing speakers strategically can enhance the audio experience.
Step 2: Choose the Right Speakers
Select speakers that suit your environment and sound coverage needs. For large areas, consider adding more speakers to ensure even distribution of sound. If aesthetics are important, look for speakers that blend with your outdoor décor, such as rock-shaped speakers or in-ground models.
Step 3: Install the Amplifier and Audio Source
Your amplifier and audio source should be placed in a location that is easily accessible but also protected from the elements. If you’re installing these components indoors, ensure you have a clear path for running cables to your outdoor speakers. If they’re outdoors, use weatherproof enclosures and keep them elevated to prevent water damage.
Step 4: Run the Wiring
Running the wiring is often the most labor-intensive part of the installation. Use a trenching tool or shovel to bury the speaker wire underground, keeping it at least 6 inches deep to avoid interference and potential damage. Make sure to leave some slack in the wire for adjustments, and use conduit for extra protection if desired.
Step 5: Mount and Connect the Speakers
Mount your speakers according to the manufacturer’s instructions. If using wall-mounted speakers, ensure they are secured to a solid surface and angled towards the listening area. For in-ground or stake-mounted speakers, position them in the desired locations and secure them firmly. Once mounted, connect the speakers to the amplifier using the pre-run wiring.
Step 6: Test and Adjust the System
Before finalizing the installation, test the system to ensure all speakers are working correctly and that the sound is evenly distributed. Play different types of music to check the audio quality and make adjustments to the speaker placement or amplifier settings as needed.
Step 7: Final Touches
Once you’re satisfied with the setup, bury any remaining cables, secure all connections, and tidy up the installation area. If you used temporary markers during the layout planning, remove them now.
Expert Tips for a Successful Outdoor Sound System Installation
Even with a step-by-step guide, there are additional considerations that can make or break your outdoor sound system installation. Here are some expert tips to help you achieve the best results:
Tip 1: Prioritize Weather Resistance
Every component of your outdoor sound system should be weather-resistant, from the speakers to the wiring. This ensures that your system will perform well year-round without requiring frequent maintenance or replacements.
Tip 2: Balance Sound Quality and Aesthetics
While it’s tempting to hide speakers for aesthetic reasons, placing them in locations that compromise sound quality can diminish your listening experience. Find a balance between appearance and performance by strategically positioning speakers in visually appealing but acoustically effective locations.
Tip 3: Consider Future Expansion
When planning your installation, think about potential future upgrades or expansions. For instance, you might want to add more speakers, integrate the system with a home automation setup, or include outdoor subwoofers for enhanced bass. Designing with flexibility in mind can save time and money later.
Tip 4: Use High-Quality Components
Investing in high-quality components may have a higher upfront cost, but it pays off in the long run. Superior speakers, amplifiers, and wiring not only deliver better sound quality but also tend to last longer, providing better value over time.
Tip 5: Professional Installation vs. DIY
While DIY installation can be rewarding, a professional installation ensures that your system is set up correctly and safely. Professionals can also provide valuable advice on speaker placement and system configuration to optimize performance. If you’re unsure about any part of the process, consulting with an expert might be worth the investment.
How Long Does It Take to Install an Outdoor Sound System?
The time it takes to install an outdoor sound system varies depending on the complexity of the setup, the size of the area, and whether you’re doing it yourself or hiring a professional. On average, a basic DIY installation can take anywhere from a few hours to a full day, including planning, running cables, and mounting speakers. Professional installations may take a similar amount of time but are often more efficient due to the installer’s expertise. More complex systems, especially those involving multiple zones or custom wiring, can take longer.
Conclusion
Installing an outdoor sound system is a fantastic way to enhance your backyard and create an enjoyable atmosphere for gatherings, relaxation, and entertainment. By understanding what is needed for an outdoor sound system and following the installation steps outlined in this guide, you can transform your outdoor space into a personal audio paradise. Whether you opt for a DIY approach or enlist the help of professionals, careful planning and attention to detail will ensure that your outdoor sound system delivers excellent performance for years to come.